**I actually completed this project several months ago. I had started this blog, but as life goes, I didn't get time to finish it. So, here it is~~better late than never.
I was able to *score* a large, old window pane from a friend's used furniture shop....for a whoppin' $5.00!!!
 |
| $5.00 Bargain! |
I pondered what to actually do with it.....fill it with photos? Fabrics? Prints? And I found a great idea on Pinterest. I saw paper quilt blocks put together to form a full paper quilt.
Hmmmm.....so after researching different quilt block patterns, I chose ones I wanted to use and began cutting, measuring, and gluing scrapbook paper.
 |
Completed Quilt Block
|
Once I completed the different paper quilt blocks, I had to decide on a lay out, what paper to use as a 'backing' and what little details I should add to each block.
 |
| I chose a Burlap-look paper for the backing |
The burlap scrapbook paper was complimentary and wouldn't compete with the blocks themselves.
 |
| I added some fun tape and ribbons to the edge of the blocks |
I love to use the different fun tapes that are available for so many different projects. So, it was a first choice for this project.
 |
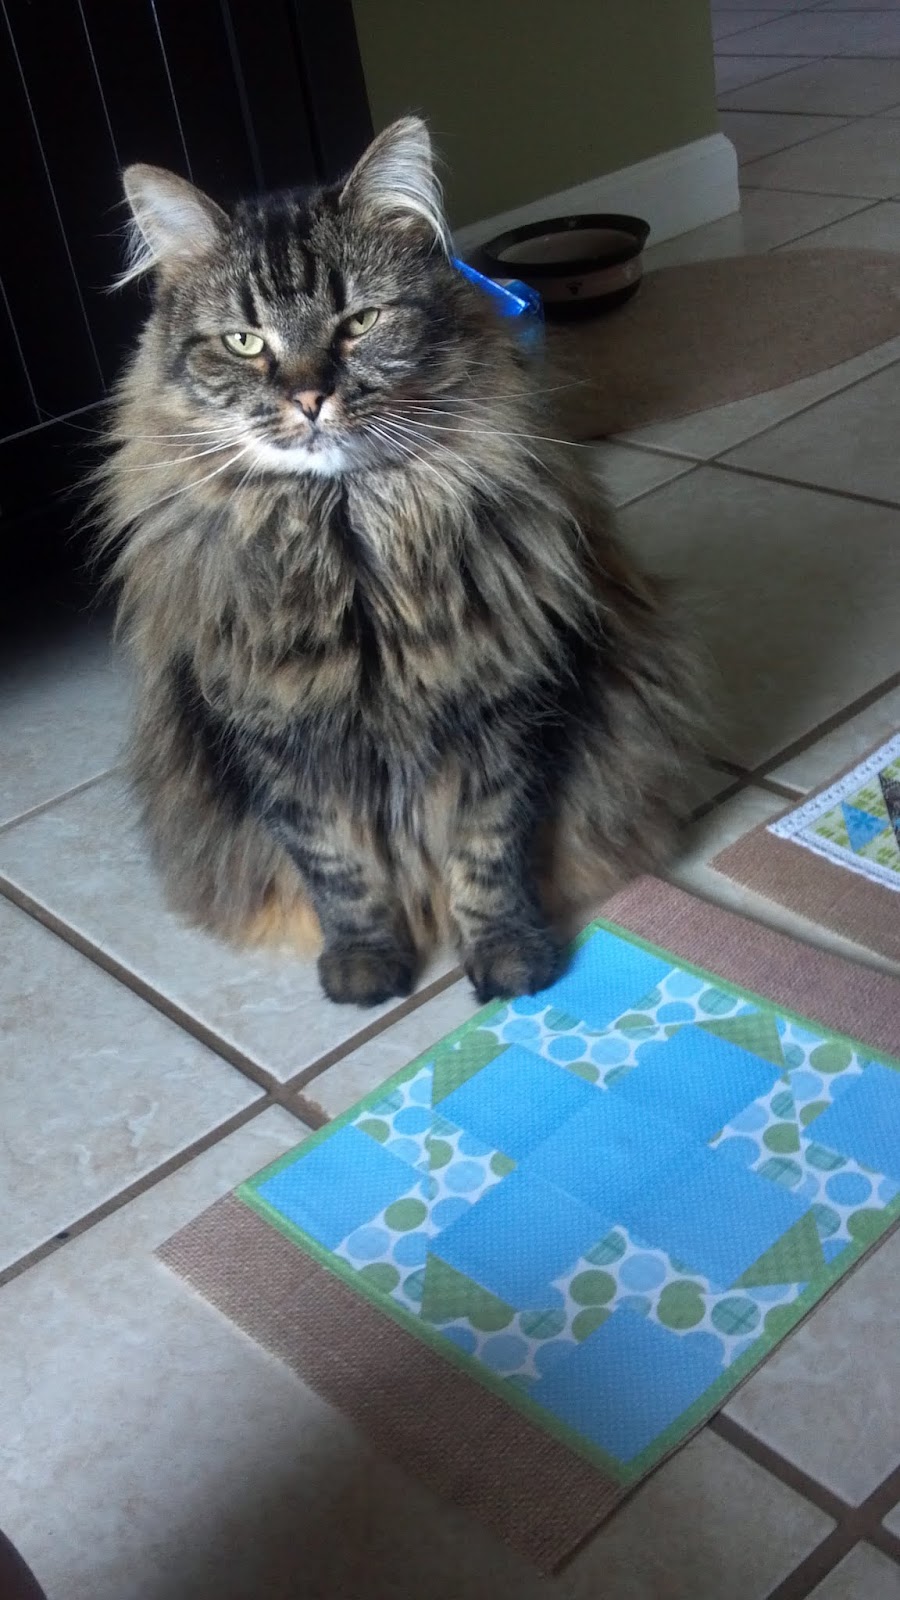
My Assistant
|
Yes, as always, in my house you will be surrounded by one furbaby or another. Roxy decided that I needed help holding the blocks in place as I arranged and rearranged them.
 |
| I used the kitchen floor to figure out the layout |
This took a bit of deciding....hard for such an indecisive person!!
 |
| There....I think I like it |
Once I felt ok with the layout, I then had to place them in each window pane.....
 |
| The finished product |
Let me tell you....this puppy is BIG! I had it hanging in our bedroom for a while, but now, it's in one of the hallways....leading to my craft room, the guest bathroom and the master suite.
 |
| Towards the front door and foyer |
 |
| I loved the age & condition of the window frame |
 |
| A close up of two squares |
This was a fun project to tackle! A friend gave me another window that she had purchased when I got mine....it's smaller, but matches exactly. Came from the same house remodel. So~~~Who knows what I'll do with it!